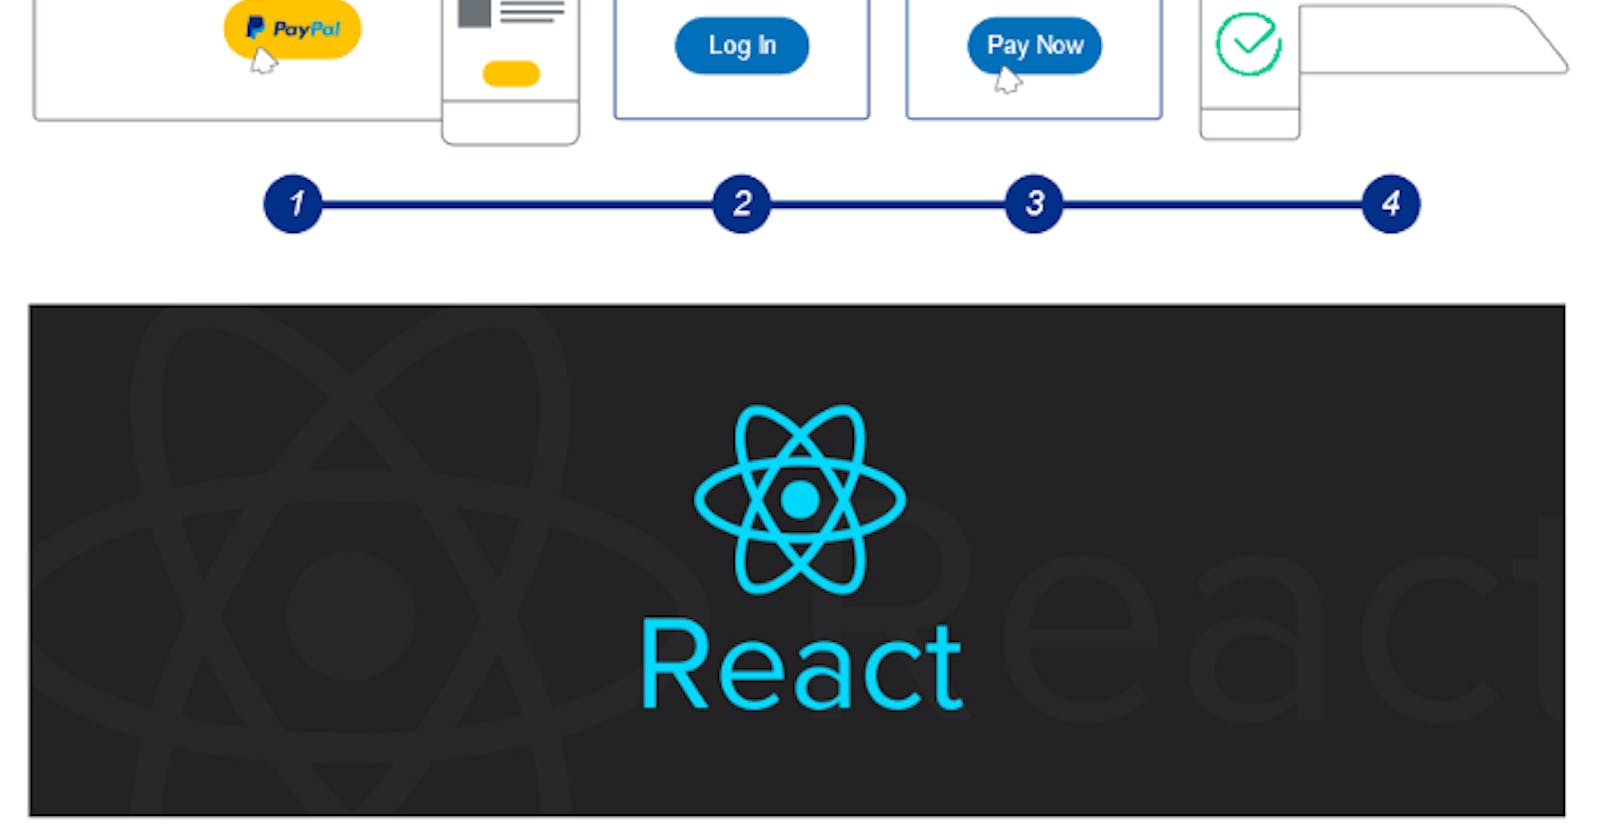


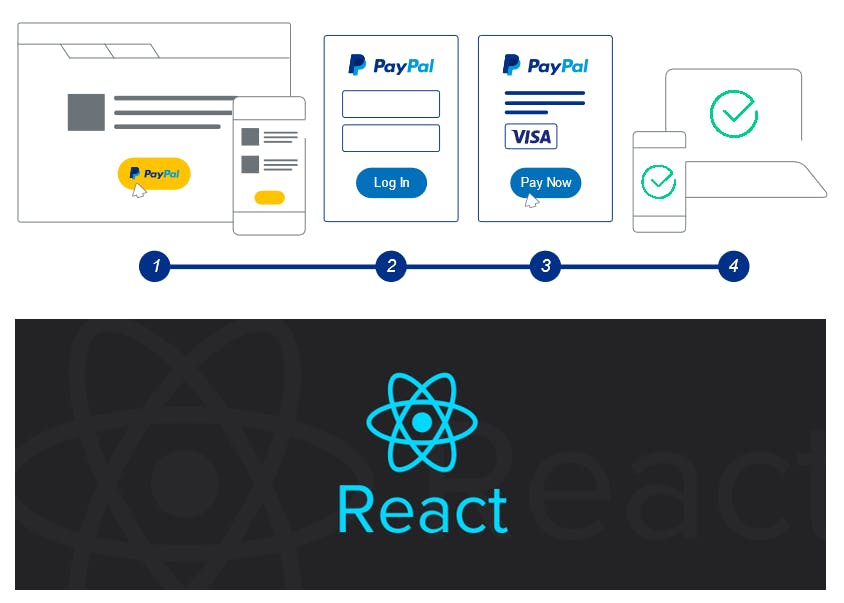
Have you ever wondered how to start receiving payments online for say, your own e-commerce website but don't exactly know how to go into the implementation details? Fortunately, there is an easy way you to do that by integrating PayPal's online payment system into your website and it will just take you a few minutes of set up. There's a catch though: you'll need an approved PayPal Business account to start receiving actual payments which can take up to a few days. Without further ado, let's get started.
Getting Started
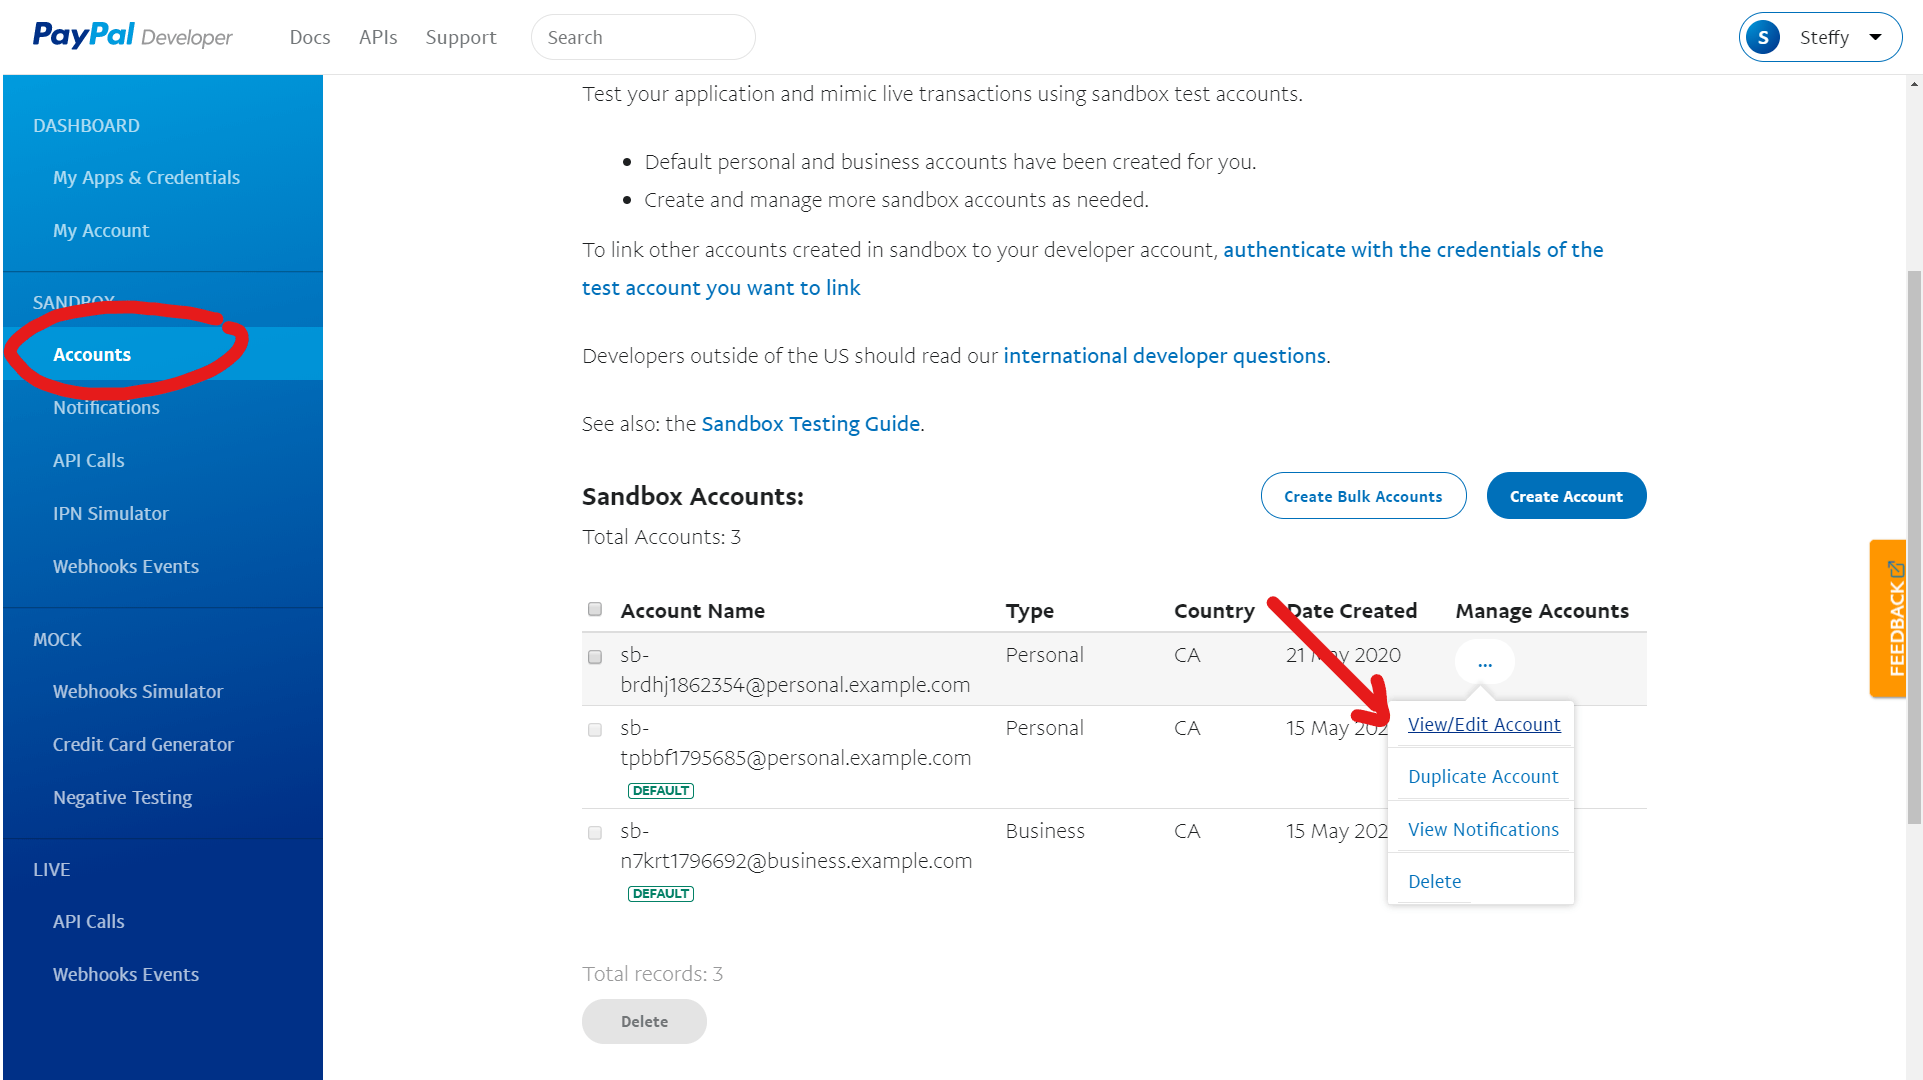
Start by logging in to the PayPal's developer page here. You'll need to create a PayPal account if you don't have one yet. It's easy and completely free. You will then see the following page below.
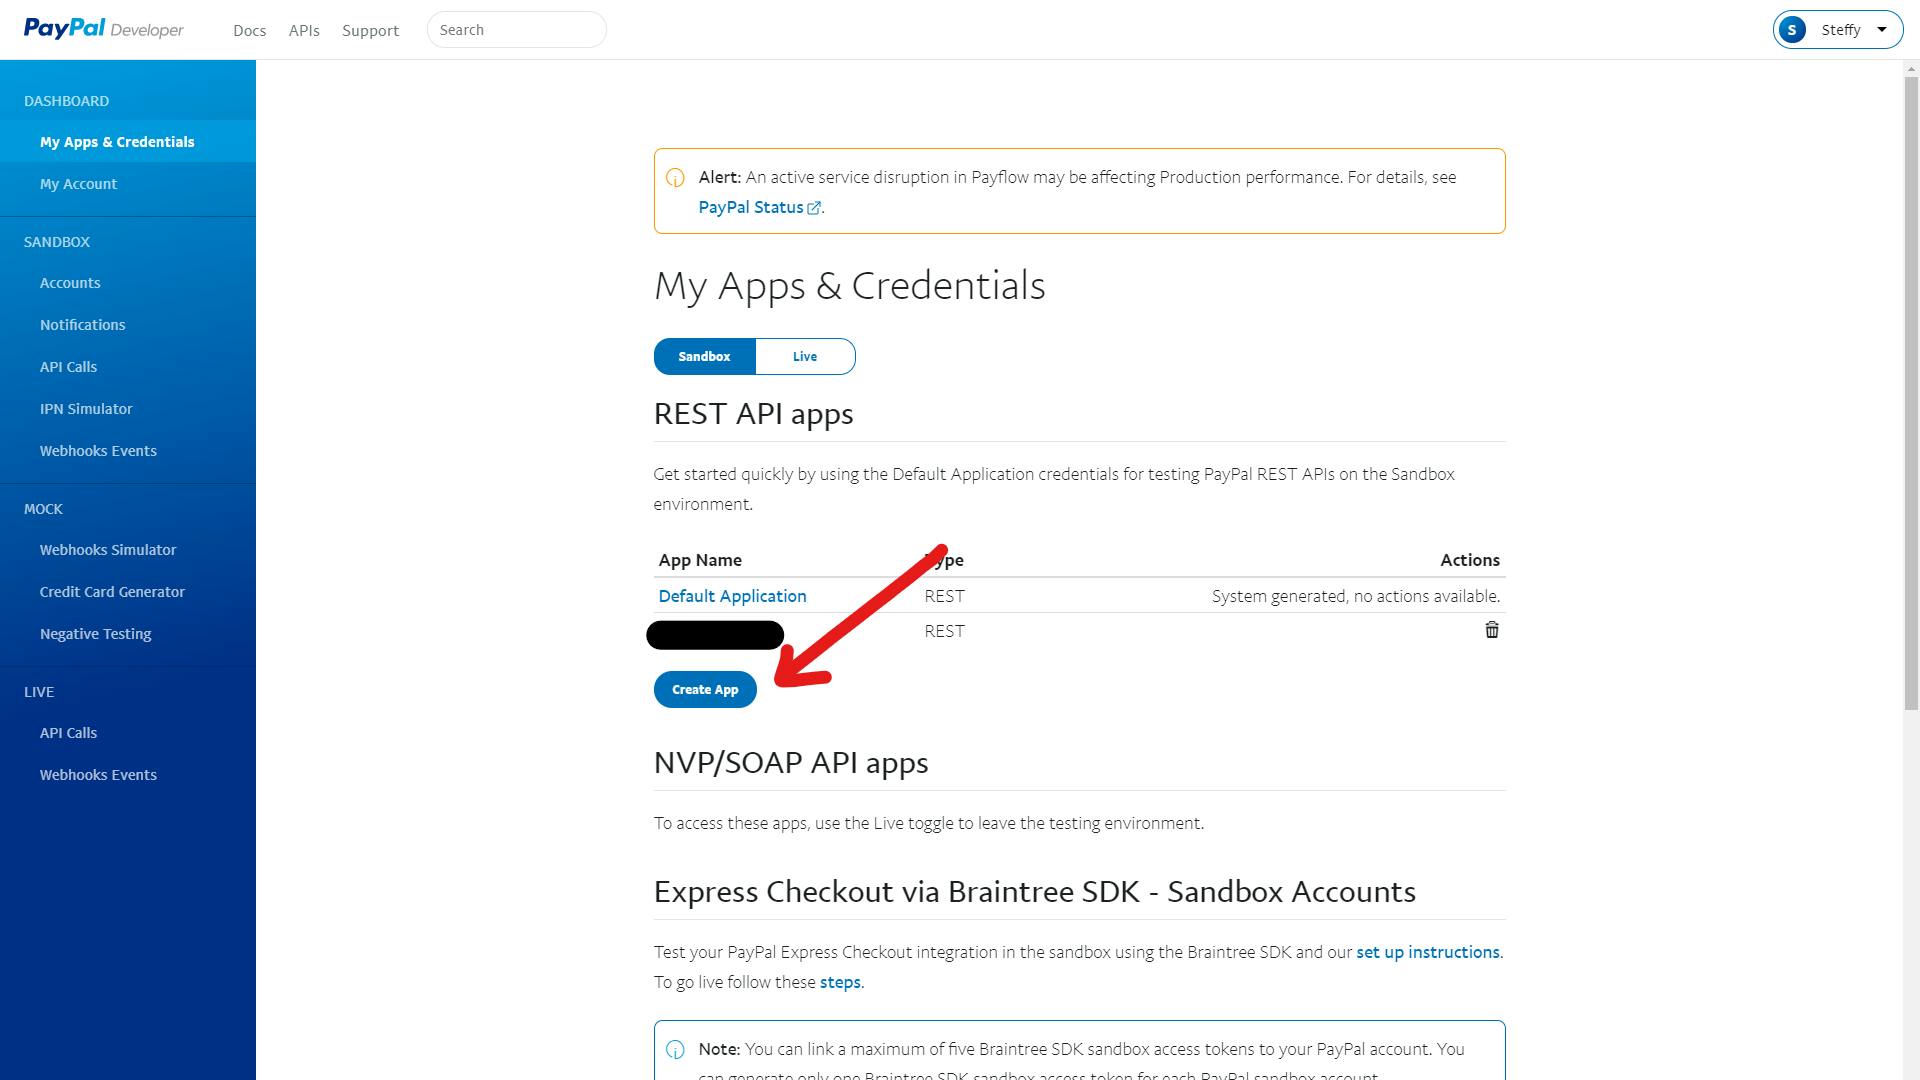
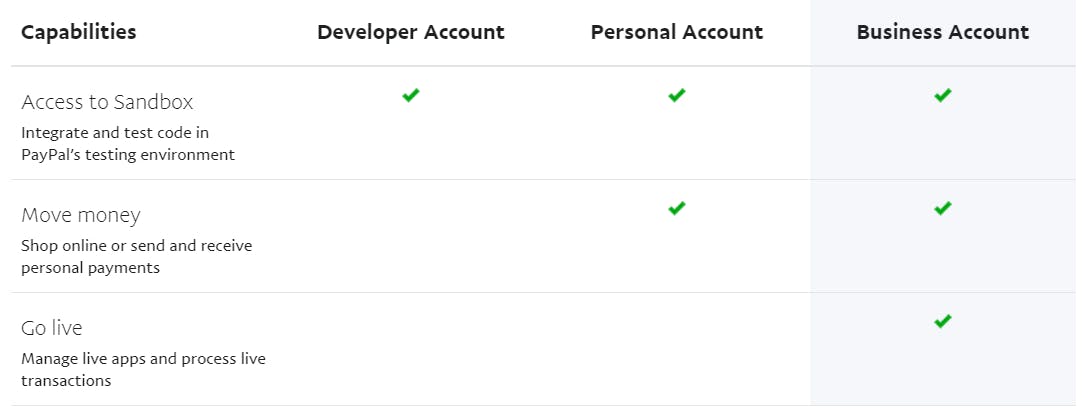
Click on the "Create App" button in which after you will receive your sandbox and live api credentials used for testing and production purposes respectively. Note that not all features are available for live transactions. Features vary depending on your account type and if you want to receive online payments, a business account is required as I've mentioned.
To manage your change your Sandbox account's password, you can go to account settings and change it there. The default generated password is a little complicated to remember, so I recommend to change it to something easier to remember.
Installing PayPal Checkout
npm install --save react-paypal-express-checkout
After installing the dependency, simply import it into an existing component to use it. Alternatively, you can create a new component for it. I prefer creating a new component for it as it is a cleaner design in the long run. An example of how I create my PayPal component can be seen below:
import React from 'react';
import '../App.css';
import PaypalButton from 'react-paypal-express-checkout';
import {paypalCheckout} from "../actions";

class PayPal extends React.Component {
    constructor(props) {
        super(props);
        this.onSuccess = this.onSuccess.bind(this);

    }

    onSuccess(payment) {
        const data = {
            cartDetail: this.props.cartDetail,
            paymentData: payment
        };

        paypalCheckout(data) /* updates on the backend */
            .then(res => {
                if (res.success) {
                    console.log(res)
                }
            })
    }

    render() {
        const success = payment => {
            console.log("Payment succeeded!", payment);
            this.onSuccess(payment);
        };

        const error = err => {
            console.log("Something went wrong...", err)
        };

        let env = 'sandbox';    /* change to 'production' for production purposes */

        const client = {
            sandbox: 'PUT_YOUR_SANDBOX_CLIENT_ID_HERE',
            production: 'PUT_YOUR_LIVE_CLIENT_ID_HERE'
        };

        return (
            <PaypalButton
                env={env}
                client={client}
                currency='CAD'
                total={this.props.total}
                onError={error}
                onSuccess={success}
                style={{
                    size: 'large',
                    color: 'blue'
                }}
            />
        )

    }
}

export default PayPal;
As you can see, it is quite straightforward and fairly simple with only a few things to set up including:
- The environment (i.e., sandbox or production)
- The total amount to be paid and the currency it is in
- What happens when payment succeeds (i.e., onSuccess handler)
- What happens when payment fails (i.e., onFailure handler)
- The button's style looks like (optional)
Once it's set up, you'll be able to test it immediately and get a response. On success, something similar to the following object should be returned:
address: {recipient_name: "John Doe", line1: "1 Maire-Victorin", city: "Toronto", state: "ON", postal_code: "M5A 1E1", …}
cancelled: false
email: "sb-brdhj1862354@personal.example.com"
paid: true
payerID: "8QB855S5RZPYS"
paymentID: "PAYID-L3ECTOI0R337889TN731124D"
paymentToken: "EC-2B994803EA193571C"
returnUrl: "https://www.paypal.com/checkoutnow/error?paymentId=PAYID-L3ECTOI0R337889TN731124D&token=EC-2B994803EA193571C&PayerID=8QB855S5RZPYS"
__proto__: Object
And from here on, it is up to you how you want to use the information. Hopefully this guide is clear enough. Feel free to leave a comment if you're unsure about anything and thanks for reading!